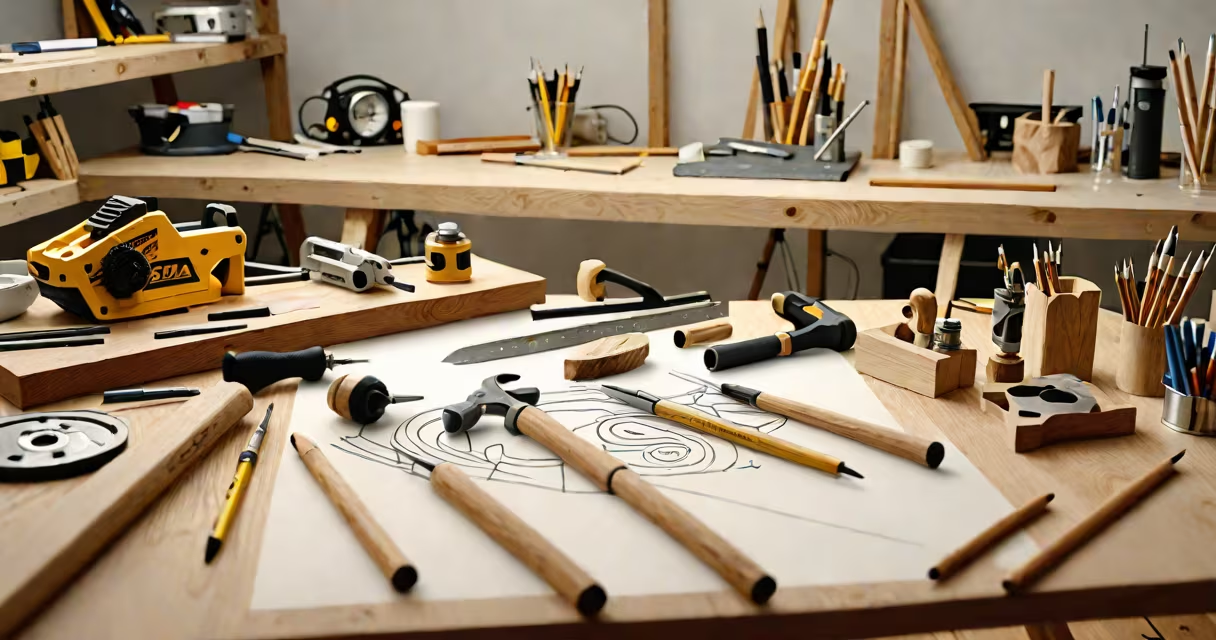
Woodworking at home is the practice of designing, building, and finishing wooden objects using hand or power tools in a residential setting. It combines craftsmanship, problem-solving, and material mastery to create furniture, décor, or functional items. This activity requires space, proper tools, and attention to safety protocols.
Home workshops vary in size and equipment. A basic setup includes a workbench, clamps, measuring tools, and a few essential power tools. Larger setups may include a table saw, drill press, and dust collection system. The choice of tools depends on project complexity and available space. For example, a small apartment might focus on hand tools like chisels, planes, and a miter box, while a garage-based shop supports larger machinery.
Projects range from simple picture frames to complex cabinetry. A beginner might start with a dovetail box using pine and a coping saw. More advanced builders tackle live-edge tables or custom shelving. Each step-from selecting wood to sanding and finishing-requires precision and patience. Success hinges on consistent measurement, tool maintenance, and workflow planning.
Woodworking at home begins with design. Sketches or digital plans define dimensions, joinery methods, and materials. A common joint for beginners is the butt joint, secured with wood glue and screws. More durable options include dados, mortise-and-tenon, or dovetails. Choosing the right joint affects strength, appearance, and difficulty.
Next, select wood based on species, grain, and moisture content. Softwoods like pine are easier to cut and shape but dent easily. Hardwoods such as walnut or maple offer durability and rich grain patterns but require sharper tools and more care. Wood should be dried to 6-8% moisture content to prevent warping. Kiln-dried lumber is standard for indoor projects.
Tool usage follows a sequence: layout, cutting, shaping, sanding, and finishing. For example, marking a 12-inch board involves measuring from the edge with a steel rule and scribing a line with a marking gauge. Cutting uses a circular saw set to ¾ inch depth. Shaping follows with a hand plane to remove high spots. Sanding progresses from 120-grit to 320-grit paper. Final finish applies oil or varnish to protect the surface and improve color.
Essential tools fall into categories: measuring, cutting, shaping, and joining. Measuring tools include tape measures, combination squares, and calipers. Cutting tools range from hand saws to routers and band saws. Shaping tools include chisels, scrapers, and sanding blocks. Joining tools consist of clamps, brad nailers, and glue dispensers.
| Tool Type | Examples | Typical Use |
|---|---|---|
| Measuring | Tape measure, square, caliper | Marking dimensions, checking alignment |
| Cutting | Circular saw, jigsaw, coping saw | Resawing, curved cuts, precise edges |
| Shaping | Chisel, plane, belt sander | Removing material, smoothing surfaces |
| Joining | Clamps, drill, glue gun | Securing joints, applying adhesive |
Materials include lumber, plywood, veneer, and hardware. Lumber is sold by nominal size (e.g., 1x4) but actual dimensions are smaller (3/4" x 3 ½"). Plywood offers stability and cost efficiency for flat panels. Veneer adds decorative surfaces without the expense of solid hardwood. Hardware like hinges, drawer slides, and knobs completes functionality.
A non-obvious fact: many successful home woodworkers use tools they've repaired or upgraded. A router with worn bearings performs poorly. Replacing the bearing set improves accuracy and reduces vibration. Similarly, sharpening chisels with a honing guide extends their life and enhances control. These small upgrades yield better results than buying expensive new tools.
Woodworking at home provides tangible outcomes and mental benefits. Building a shelf or birdhouse gives immediate satisfaction. The act of shaping wood engages focus and reduces stress. According to the American Psychological Association, hands-on creation lowers cortisol levels and improves mood during repetitive tasks.
It's also a sustainable practice. Salvaged wood from old crates or pallets becomes usable material. Reusing wood reduces demand for virgin timber. The U.S. Forest Service reports that reclaimed wood accounts for 12% of residential construction material use annually, reducing deforestation pressure.
Common misconceptions include thinking woodworking requires large space or expensive tools. A single workbench and a few hand tools can support meaningful projects. My first project-a floating bookshelf-used only a circular saw, level, and clamp. It took five hours over two weekends. The result was sturdy, functional, and displayed in my living room.
Woodworking at home is not industrial manufacturing. It doesn't involve CNC machines, automated assembly lines, or mass production. It's not a shortcut to furniture. Projects take time-hours to days depending on scale. A simple stool may take four hours; a dining table can span ten days.
It's also not limited to men or hobbyists. Women make up 38% of home woodworkers, according to a 2022 survey by the National Woodworkers Association. Age ranges from teens to retirees. A 72-year-old woman in Portland built a walnut dresser using YouTube tutorials and a borrowed drill press.
Another mistake is assuming all wood is equal. Using green (wet) wood leads to cracking and warping. Wood must acclimate indoors for at least two weeks before use. A 1-inch oak board taken from a garage in winter may shrink 1/8 inch after drying. This change affects fit and joint integrity.
Start with a clear area-minimum 6 feet by 8 feet-for movement and storage. Install overhead lighting and a grounded outlet. Use a dust mask and safety goggles. Even low-speed tools generate fine particles that irritate lungs and eyes.
Begin with a simple project: a cutting board or plant stand. Use pre-cut lumber from a local supplier. Follow a step-by-step video from a trusted source like Woodworking for Mere Mortals or the Family Handyman. Measure twice, cut once. Test joints dry before gluing.
As skills grow, consider adding a variable-speed drill, a benchtop planer, or a dust collector. A dust collector reduces airborne particles by 90%, according to the Occupational Safety and Health Administration (OSHA). Proper ventilation prevents long-term respiratory issues.
When choosing tools, prioritize safety features. A circular saw with a blade guard and anti-kickback pawls reduces injury risk. Always unplug tools before adjusting blades. Keep a fire extinguisher nearby-wood dust is flammable.
Woodworking at home is accessible, rewarding, and adaptable. With minimal investment in tools and space, individuals build lasting objects and develop practical skills. Whether crafting a child's toy or restoring a vintage desk, each piece reflects effort, intention, and personal expression.